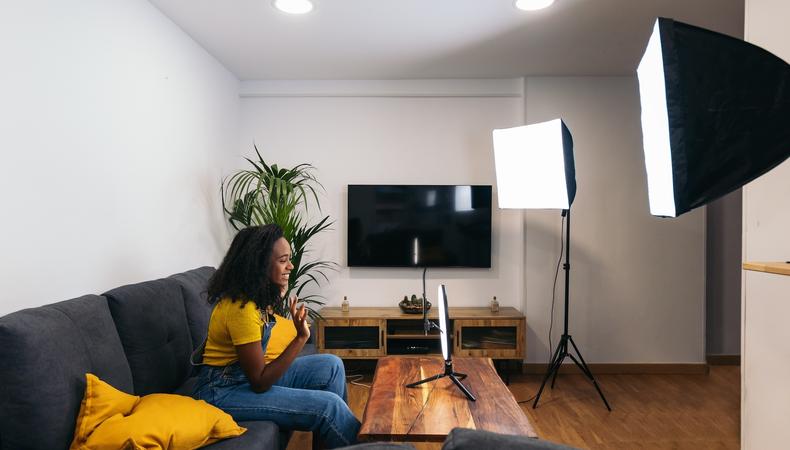
Most of us are walking around with a device in our pocket that’s capable of capturing and sharing at least somewhat decent footage. But whether you’re filming a self-tape audition or creating content for your social media or a UGC job, a good lighting setup makes all the difference. The right lighting will help you to stand out and look your best.
Is Old Hollywood’s standard three-point lighting technique what you need to cast yourself in the most flattering light? We spoke with Tavis Pinnington, an award-winning cinematographer and photographer based in Melbourne, to get some useful advice.
JUMP TO
The three-point lighting setup is a foundational technique used in photography and film to illuminate a subject with depth and dimension. It has its origins in theatre, but it was later popularised in the early days of the movie industry, setting a standard that remains heavily used in television, photography, and film today.
Three-point lighting requires three distinct lights:
- Key light: This is your brightest light source, and is typically used to light the subject’s face. This light is placed to one side of the camera, usually at a 45-degree angle.
- Fill light: This is a softer, less intense light placed opposite the key light to reduce or fill in the shadows cast by the key light.
- Backlight: Also known as the “hair light,” this light is positioned behind the subject to create a highlight around the shoulders and hair, separating the subject from the background and creating three-dimensional depth.
“Three-point lighting generates a flattering image or a flattering lighting for the subject. If you’re thinking about that in film terms, look at every shot of, say, Meryl Streep,” Pinnington says. “She will be lit perfectly. It’s very rare you see Meryl Streep under bad lighting.”
“They’ve probably used three-point lighting for her,” he says. “They’ve got the key light, which is the brightest light, lighting the majority of her face. They’ll have a fill light, which will be lighting the shadows on her face, lifting them up so she’s not in deep shadows. And then she’ll have a hair light [also known as the backlight], that separates her from the background.”
Guillermo Spelucin R/Shutterstock
The case against three-point lighting: As Pinnington explains, incredibly bright three-point lighting was the standard in Old Hollywood. As technology and tastes have evolved and we’ve moved away from film and into digital, however, cameras have become more sensitive – which means you typically do not require such a powerful lighting setup. Even if you’re filming content with your smartphone, one or two lights should be enough to banish any shadows that could make your work look amateurish or uneven. A three-point lighting system also typically requires a lot of space to set up, and it’s more suited to a professional studio setting.
The case for three-point lighting: If you’re looking to produce polished, highly professional-looking video content – think a product demonstration or a full-glamour makeup tutorial – this is where three-point lighting comes in. Without the foundation of a good pro lighting setup, even the best editing software won’t look quite right.
The rather stylised look of three-point lighting may not always be necessary for things like audition tapes or user-generated content (UGC) – where part of the appeal is having a more natural look – but it could help you with scoring brand deals and taking your content creation to the next level.
The results don’t lie. According to digital marketing agency Likeable Lab, videos with professional lighting setups typically enjoy a 45% higher watch time, 38% more shares, a 27% increase in likes and comments, and 58% better conversion rates for product demonstrations.
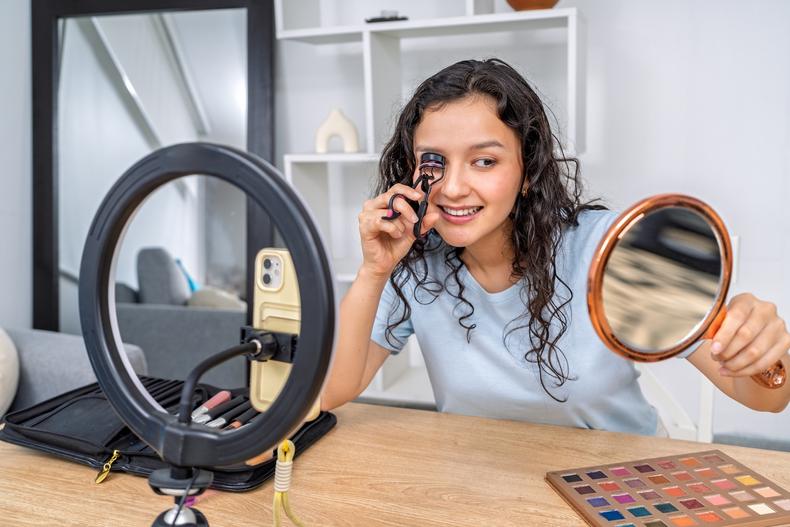
A three-point lighting system typically requires a lot of space to set up, and it’s more suited to a professional studio setting. If you’re capturing your own content at home, the level of effort and gear involved in three-point lighting is probably not necessary. A ring light, which is less bulky and fulfils a similar role in illuminating the subject in a flattering light, may well suffice.
“These days all you really need is one light, maybe two,” Pinnington says. “Most importantly, you need a key light – something to essentially make you the most prominent thing in the frame.”
For the key light, a ringlight or a basic softbox is a good place to start. If you have good access to natural light, a window may be the best light source you could use. If the sunlight coming in through the window is hard light, a simple plain white bedsheet or frosted shower curtain can be used to soften or diffuse the light.
“I think the best kind of light you can use is what’s been given to us: the sun,” Pinnington says. “But if you’re shooting at night and you only have one key light, there’ll be quite a lot of shadows. So you could probably use a fill light to soften those shadows, or you could use a hair light to separate yourself from the background.”
Your secondary light also doesn’t necessarily have to be a powered light source. You can use a bounce card as a fill light. Even a piece of white cardboard, a canvas, Styrofoam board, or a white bed sheet will do the trick.
Get the angle right
Most of the time, you will want to place any primary light source (key light) or secondary light source (fill light) slightly behind the camera and off to the side, at a 45-degree angle.
If the light is directly behind the camera, it will catch a strong reflection in your eyes (with ringlights, this is known as the “halo eyes effect”). It can look unnatural and be distracting.
Choose the right LEDs
Nowadays, LED lights for filming and photography purposes are fairly cheap and accessible. A more expensive light doesn’t necessarily mean higher quality, but you want to look out for a high Colour Rendering Index (CRI) count. A CRI of 95 or above will ensure “better colour accuracy,” Pinnington says.