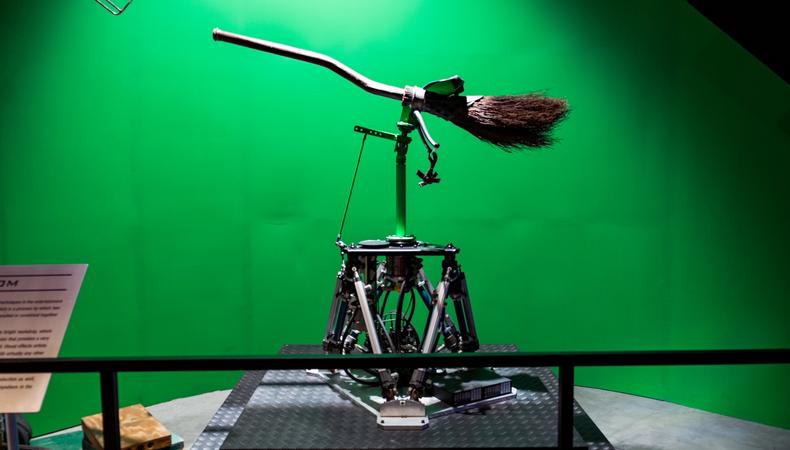
Think of all those Quidditch matches in Harry Potter films or pretty much any Marvel movie where the characters fight midair. Those flying scenes were made using green screens. But exactly how does it work?
JUMP TO
A green screen is a physical green backdrop. You film a scene or subject in front of it, and it acts as a placeholder for the background, which is replaced during postproduction.
Also known as a “chroma key screen,” it is used to insert visuals into a scene by replacing certain colour hues (chroma ranges) in an image. For example, think of weather forecasts, with the presenter standing in front of a weather map. That's created by a special effect called chroma key, which uses a green screen.
When the footage is edited, software identifies the green background and replaces it with another visual. It’s a cost-efficient, simple way of adding visual effects, especially in sci-fi or fantasy movies. A great example is Avatar (2009), which was filmed entirely with green screen sets to depict an alien world filled with giant blue-skinned creatures.
gnepphoto/Shutterstock
Chroma key screening replaces all the pixels of the specific shade of green in a video with a different image or video. It works by checking colours in the video, and if it matches the chroma key colour (a range of similar colours), it replaces that part of the video with an alternate background.
This technology has come a long way. In the early days of cinema, the process relied on clever camera tricks, as famously seen in The Great Train Robbery (1903), where there was a shot of a railway station, with a big black rectangle standing in for a window. That rectangle was then filled in using a technique called “double exposure” with footage of a train moving. The big block of colour acts as a guide for where the new image needed to go. Thankfully, modern video-editing software makes the process fairly simple.
If you’re wondering why green screens are green, it’s because the colour contrasts the most with human skin tones, making it the easiest colour to isolate in footage. And using a solid colour makes it easier to alter and layer backgrounds without risking issues like colour spilling.
Green screens are more common than blue screens these days, due to modern digital camera sensors being more sensitive to this colour. It requires less light to properly illuminate, so is a good choice for daytime and indoor scenes, while a blue screen is better for shooting in low light or night and also nature scenes.
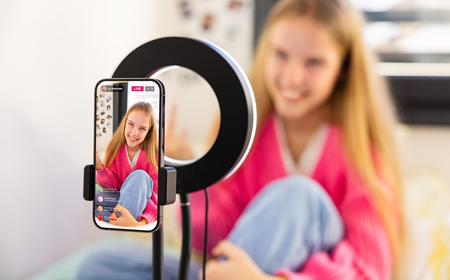
Green screens are traditionally used by filmmakers, but these days they’re also popular among online content creators. Some social media platforms like TikTok have effects that can swap out backgrounds without even needing a physical green screen. Green screen technology has also inspired the backgrounds that can be added on conference calls to override a natural background. With no physical screen, the subject doesn’t appear to occupy their surroundings quite as seamlessly, but the techniques are similar.
Green screens date back to blue screen techniques. Famous examples of this include King Kong (1933), with its iconic action scenes, like the giant creature climbing atop the Empire State Building, or The Thief of Bagdad (1940), which had magical, out-of-the world locations like desert wastelands. These were ahead of their time, and they still inspire modern films, like the remakes of King Kong (1976, 2005) or Dune (2021). Mary Poppins (1964) depicted live actors entering a cartoon world using a yellow screen process.
Frame Stock Footage/Shutterstock
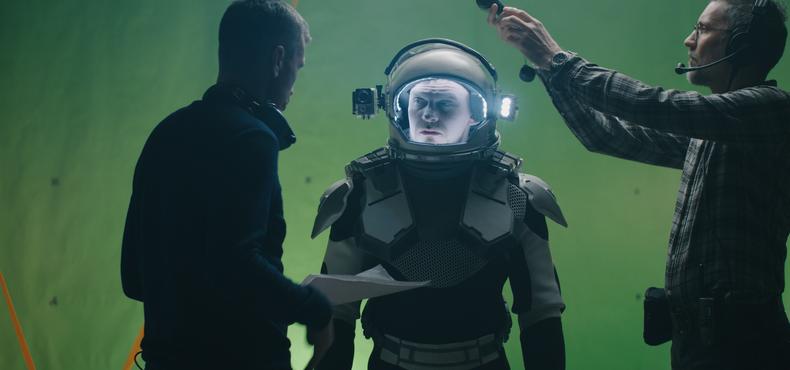
Until recently, filming a subject in front of a blue or green screen was a staple of blockbuster movies, allowing filmmakers to insert actors into any location (both real and CGI) or transform them into digital characters. On TV, it’s also commonly used for news broadcasts.
Virtual production is now beginning to replace green screens in big-budget movies like The Mandalorian (2019) and The Batman (2022). Giant LED wall installations (“volumes”) are hooked up to powerful computers driven by gaming software to create high-resolution animated backdrops that respond to the perspective of the camera in real-time. The world's largest permanent volume has been built in Melbourne.
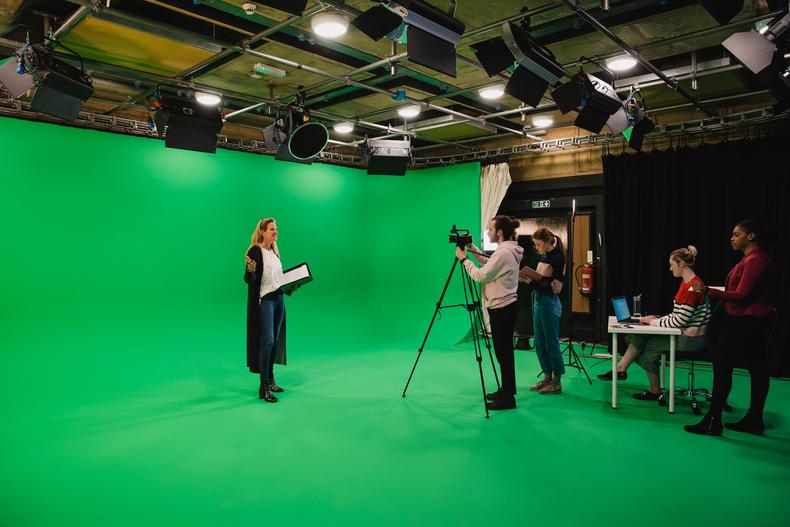
Green screens allow you to film in a studio or anywhere that allows for a solid-colour background, such as a blank wall or physical screen, and add the desired background later.
For film or photo shoots, a green screen can save time, money, and the need to travel; it also simplifies the logistics of shooting on set or on location.
For content creators, it provides a powerful tool for visual storytelling. TikTok's Green Screen feature has been used more than any other effect on the app.
By adding, removing, and editing backgrounds, the person in the video can appear anywhere (real or imaginary). It’s also great for integrating original content with repurposed media – for example, running commentary over existing footage – for travel vlogs, education content, and product showcases.
DGLimages/Shutterstock
There are a number of factors to consider when using a green screen technique. While editing is fairly straightforward, the challenge is during the actual filming.
Although using a green screen is cost-effective compared to travelling to film on location across the world, fixing a rushed or low-rate job can also be expensive and time-consuming.
Here’s how to use a green screen effectively.
1. Get a green screen.
Green screens can be any material but are normally made of nylon or spandex. You could even make your own or (if you’re really committed) paint a wall bright green, but it’s probably cheaper to buy one than to DIY. Depending on what you are hoping to achieve in the final result, expect to spend anywhere between AU $250–AU $1150 (£130–£600). If you plan to film more frequently, it’s better than using a digital app-based one.
Whatever your budget, make sure your green screen is stable, easy to set up, and good for your filming needs.
For example, consider if you want a permanent installation or one that’s collapsible and portable. If you have a dedicated filming space, check out green screens that come with a stand.
The cheapest options are great for starting out but will be a little flimsier, while more expensive models are longer-lasting and can often be taken on location outside.
2. Invest in a good camera.
Investing in a higher-quality camera will pay off, but you can achieve good results with most digital camcorders and even many smartphones. Whatever you use, ensure it has:
- HD-quality of 720p or higher
- A frame rate of at least 24 frames per second (fps) or above
- Compatibility with green screen software to save and edit files
3. Perfect your camera set-up.
- Position the camera so that it only captures things within the green screen.
- Keep the camera as still as possible to avoid any unnecessary jerky movements. Secure the camera with a decent tripod.
- If your camera automatically sharpens your image, turn that feature off, as it makes it harder for software to separate the subject from the background.
- Use a lower f-stop number aperture to soften and blend out the background.
- Use a low ISO setting to avoid noise artefacts, speckles, and spots.
4. Get the lighting right.
Green screen lighting can be tricky to set up correctly. If your green screen or subject isn’t perfectly lit, it can impact the finished quality – and some issues can be difficult to fix during editing. Here are some key tips:
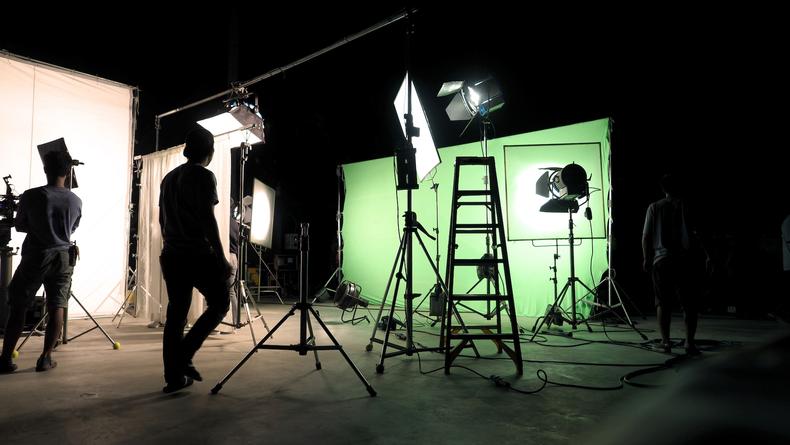
- A simple setup has two lights pointing at the green screen from opposing sides, with a slightly overhead light pointing to the subject or person being filmed.
- So, use at least two lights, and ensure you’re lighting at least two separate zones: the screen itself and the person being filmed.
- Lighting should be bright, even, and diffused. Options include umbrella lights, LED light panels, softbox lighting, or ring lights.
- Ensure lights are positioned correctly, and avoid shadows.
5. Set up the subject and shoot.
Ensure the green screen surface is flat and smooth, with enough space to stand and place camera and lighting equipment.
The subject must remain in front of the green screen at all times. If they wander, it will be cut during editing. Keep this in mind when streaming live.
Ideally, position the subject at least 4 to 6 feet away from the green screen to avoid colour spill in editing (when subjects end up with odd colours around their edges or hairlines). Content creators can get away with a foot or two.
The subject should not wear anything green, as it can cause a translucent effect after the chroma keying process. The same applies to makeup, accessories, décor, and even eye colour.
Watch out for shiny items, like jewellery or glasses, as these can reflect the green screen and cause transparent spots to appear, making editing much harder.
If you have green eyes, need to wear green, or have to film with anything green, use a blue screen instead. Blonde hair can also struggle on a green screen.
Shoot at a higher shutter speed if your subject is moving around in front of the green screen to avoid motion blur into the background, which occurs if the camera is unable to properly track your subject. Even frizzy hair or flyaway strands can be problematic.
6. Invest in the right editing software.
Whatever your budget and editing capabilities, consider these useful features when you choose software:
- Content aware fill removes objects and transfers elements from one image to another.
- Selective colour adjustment targets individual colours and adjusts as needed.
- Video stabilisation reduces or removes video shakiness.
- Matte cleaner fixes colour spill.